Procurement Documents
How to upload procurement documents (RFP, RFQ, RFI) to the website
Overview
Each procurement document (or set of documents) will have its own page on the website. This page gives people information about the procurement process, and provides them with links to the included document(s).
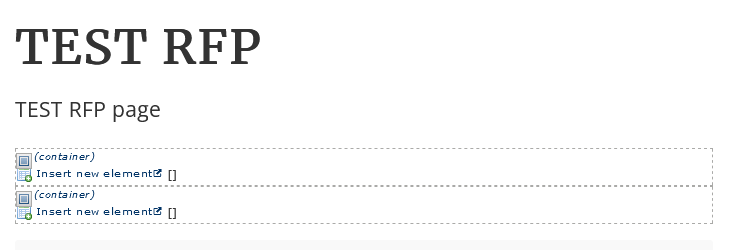
Here's an example of what a procurement document page might look like:

The procurement document upload process is separate from the generic documents because procurement documents have some extra fields, like procurement type and closing date & time.
Posting RFP Committee Meeting Notices
RFP Planning and Selection Committee meetings are part of the procurement process and are public meetings that are subject to sunshine laws. A calendar event and an agenda must be posted at least 24 hours before the meeting takes place. You will need to plan to create calendar events for these meetings and document pages for agendas and minutes.
Reference the Online Calendar Overview tutorials for details on posting these notices.
Create or Edit
Should you edit or create a new document?
Create a new document page if:
- This document, or an older version, is not already on the website
Learn how to create a new procurement document page.
Edit a document page if:
- You are uploading a new version of a document already on the site
- You are adding a document to a set of documents already on the site
- You are changing the title, summary, or publication date
Creating a Procurement Document Page
Step 1: Create the Document Page

- Navigate to your documents folder on the website.
- Log in to CommonSpot and open the toolbars.
- Click on the New menu in the gray menu bar.
- Click on Page.
- Create the page as you normally would, with some exceptions:
-
- Title the page according to this formula: [Name of RFP] Request for Proposals. For example, if your RFP is called "Tree Inventory in City Parks," your Page Title and CommonSpot Title will be Tree Inventory in City Parks Request for Proposals.
- In the Standard Properties, make sure you change the Category to Procurement Documents.

- In the Standard Properties, make sure you set the Expiration Date and Time to your Closing Date and Time. The time is set in military time, so 16:00 is 4:00pm. Set the Action to No action.

- On the Custom Properties page, make sure you change the Content Type to be RFPs, Bids, and Notices.

Step 2: Fill Out the Procurement Document Element
There should be a Procurement Document element waiting for you on the page, like this:

If you don't see this element, go to Properties -> Standard Properties and make sure you've changed the Category to Procurement Documents.
Click on the link provided to fill out the element.
- Summary: A brief explanation of the document(s), so people know what they are downloading.
- Pre-Bidding Info: Any pre-bidding information that people need to be aware of goes here.
- Pre-Bidding Location: Where people can go for pre-bidding information.
- Main Document: This is the first, or main document.
-
- Press the Select button.
- Choose New Uploaded Document and press Insert Link.
- Choose your document from your computer, and give it a title in the box that says CommonSpot Title. This title cannot be the same as the page title. You can abbreviate RFP and add the word document.
Example: Tree Inventory in City Parks RFP Document. - Do not set a publication or expiration date for your documents.
- Press Save.
- Related Files: You can choose up to 20 related documents. The process is the same as for the Main Document. If you are adding Q&A documents, add the date to the document title so that people know when you posted it.
- Once you are finished, press Save.
Editing the Document
- First, navigate to the page you would like to change.
- Next, click on Procurement Documents on the upper-left corner of the element.

- Several options will appear. Select Data to access all the form fields associated with the page.
- You can edit any information previously entered in the form fields.
- Several types of edits to the documents are possible:
-
- You can replace an uploaded document with a newer version by clicking Select.
- You can delete a previously updated document by clicking Clear.
- You can upload additional documents. The form allows for a total of 12 uploaded documents.
- Once you have completed the edits, press Save.
Possible Errors
Here are some issues you may run into:
Title Already Exists
If you give a document a title that already exists in your document folder, you'll see this error:

To get around this, use a unique title for your document. Some tips:
- Add 'Document' to the end of the title
- Add the version number to the end of the title
- Add the date to the end of the title
Document Element is Missing
If you created the page and there's no document element to be seen, then you likely forgot to choose the correct page category:
To fix this:
- Go to Properties in the gray toolbar
- Choose Standard
- Choose Procurement Documents from the Category drop-down menu