Resizing Images with pixlr.com Express
How to resize images using the free online tool Express by pixlr.com
Overview
Why Resize Images?
It's good idea to resize your images before uploading them for a few reasons:
- Large images make your pages load slowly, and nobody likes that.
- Most images above 500 pixels (px) wide will be cut off for many of our users.
- The CommonSpot image editor is slow and clunky.
Why Use Express?
There are many ways to resize images on a computer, but not everyone in the City has the same software, or the same permissions for installing software, on their machines.
This means that we have to find something that's free and accessible to everyone. As far as we know every contributor has a web browser with Flash installed on it.
Express is fast, relatively easy to use, and doesn't require that you create an account.
What Size Should They Be?
This depends on the layout you are using. Remember that the website resizes based on browser size, so maximum-width images might be cut off for some users.
General Images
| Column Size |
Maximum Image Width |
Safe Image Width |
|---|---|---|
| 100% of the page |
645px |
500px |
| 66% of the page |
430px | 338px |
| 50% of the page |
312px | 242px |
| 33% of the page |
200px | 158px |
Banner Images
Banner images should be 905px wide and 162px tall.
Step 1: Open the Image with Express
- Go to http://pixlr.com/express in your favorite web browser.
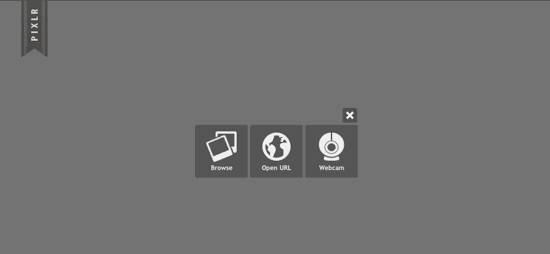
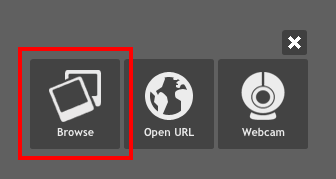
- Click on Browse.
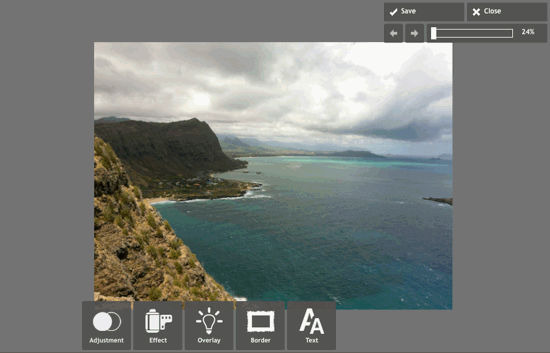
- Locate the image on your computer, and open it.
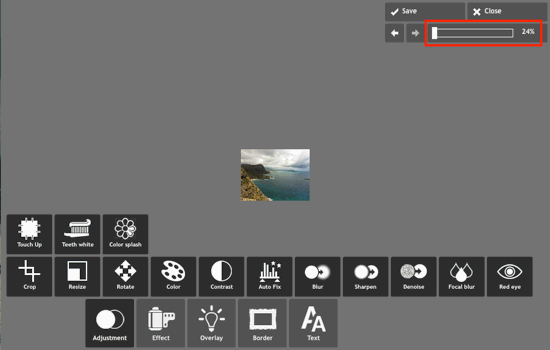
If successful, your image should pop up on the screen like this:
Step 2: Resize the Image
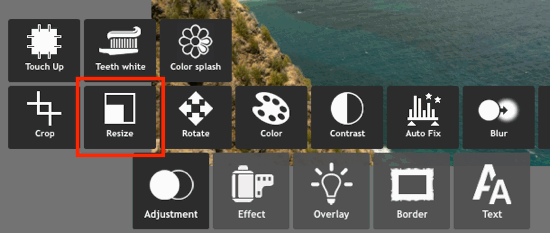
- Click on the Adjustment button at the bottom of the page:

- Click on the Resize button:
- Enter your desired width or height. The other dimension will be changed automatically, to make sure the image doesn't look squished or skewed:

- After entering your desired width or height, hit the Apply button.

- The image is now resized, but it may look smaller than you were expecting. If this is the case, the image is probably zoomed out. You can go to 100% zoom if you wish, but it makes no difference:
Step 3: Save the Image to Your Computer
- Once you are satisfied with your changes to the image, click the Save button in the upper right corner of the page:

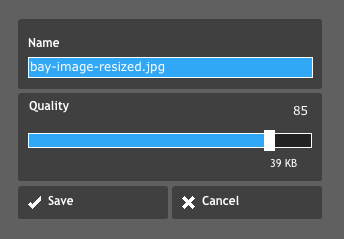
- Give your resized image a name, and choose the desired image quality, then click the Save button:
- Choose where you would like to save the image on your computer.
Step 4: Upload the Image to the CMS
See the uploading images tutorial for instructions.